The Standard Study Upload Interface
Requirements
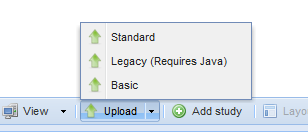
Select either the “Upload studies…” item from the Options menu in OnePacs, or click on the “Upload” button on the tool bar at the bottom of a OnePacs worklist page and select the "Standard" option.
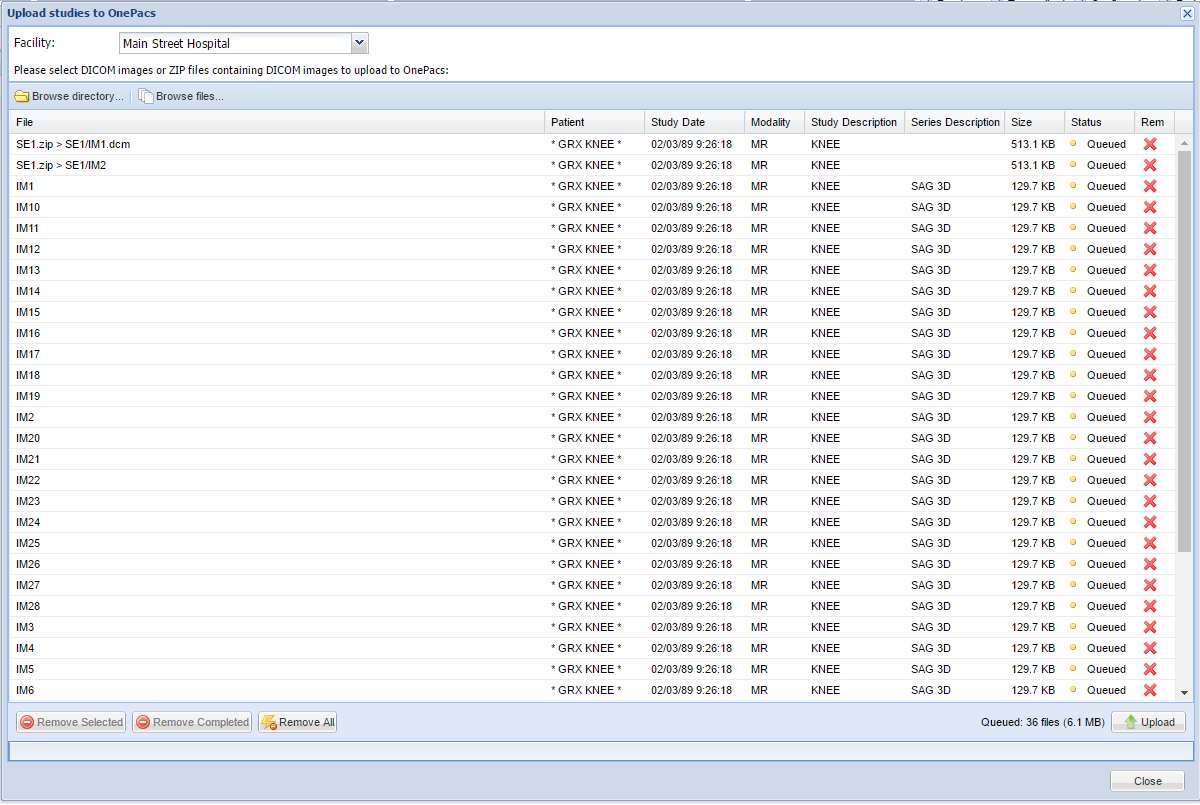
After selecting the upload option an upload window will show. If you have access to more than one OnePacs facility, you will need to select the facility to which the study belongs from the drop down list at the top of the window. Select either the "Browse directory..." button or the "Browse files..." button and locate the DICOM files. You may also drag and drop DICOM files into the area marked as "Drop DICOM Files Here". Information about the selected files will appear in the window including patient, study date and series description.
Click the red X on the right to remove a file from the list. You can select multiple rows and click the "Remove Selected" to remove multiple uploads, or use the "Remove All" button to remove all uploads. The "Remove Completed" button will remove files that have already been uploaded. The status column will change as files are uploaded.
When your selection of what to upload is complete, click the "Upload" button in the lower right to start uploading the DICOM files.
Limitations
- Browsers do not allow traversing multiple directory when using drag and drop. Use the "Browse directory..." button instead.
- Older versions of Firefox (prior to version 50) do not allow directory uploads.


