Incoming Document Management
OnePacs offers two primary means of associating documents with imaging studies.
NOTE: It is recommended that PDF documents uploaded to the OnePacs system be "image-only", and not contain custom content such as font specifications, overlays, and custom text. The PDF standard allows for great variation in document data structure and undergoes continuous change. For non-"image only" documents, there are only a limited number of fonts that the PDF specification requires renderers to support, whereas documents can specify use of any font of the user's choice, which may lead to a variation in document appearance between viewers. It is recommended that non-"image only" documents be rasterized (converted to pure image data) prior to uploading to the OnePacs system.
Attaching Study Files to Cases
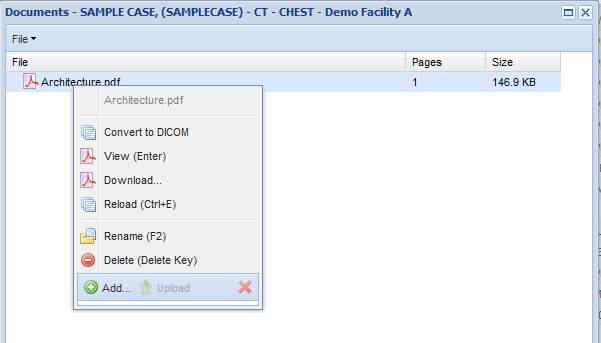
Users who have the “Attach files to studies” privilege may simply click on the “study files” icon in the worklist toolbar, or right-click on a study and select the “Study documents…” option, to bring up an interface which allows any file from the local PC to be attached to the study, and which allows the user to download to their local PC any file/document which has previously been attached to the study. The study file/document management window appears as follows: Previews of image files and PDF documents are available by moving the mouse over the file name. PDF and JPEG documents may be converted to DICOM. This will add a new series to the study.
For studies which do not have any documents attached, the study files icon will be grayed out. If one or more files/documents are attached to a particular case, the study files toolbar icon will be highlighted for that case. In the following graphic depicting toolbars for two successive cases on the worklist, the top study files icon is gray, indicating that no files are currently attached; the bottom icon is highlighted (colored), indicating that one or more study files exist:
Retrieval of files from an IMAP email account, or by fax
It is also possible to have the OnePacs system poll an email account for files which one wishes to make accessible to the worklist. This is useful, for example, when using a fax server (or commercial service, such as eFax) that converts incoming faxes into email messages with PDF or JPEG file attachments.
A dedicated email account for the purpose of use with OnePacs is required. OnePacs will only scan recently received, unread emails in the provided email account. Additionally, while OnePacs accesses and stored these emails and attachments in a HIPAA compliant manner, caution should be used when utilizing 3rd party email providers. OnePacs does not recommend any specific email providers and recommends that you consult your compliance team prior to use of an external email system.
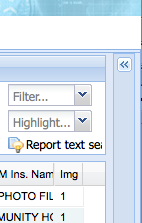
When the incoming documents feature is enabled for a particular user, an expandable/collapsible panel appears on the right side of the worklist. When closed, the panel appears as follows:
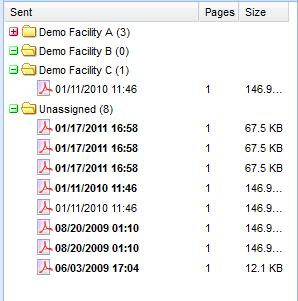
The double-arrow icon on the panel may be clicked to open the panel. When opened, the incoming documents panel appears as follows:
The documents feature may be enabled or disabled for each facility serviced on the OnePacs system. If enabled, a folder for that facility will appear in the documents panel.
Each folder may be in an open or closed state. When closed, a small plus arrow icon appears to the left of the folder, colored in red. When open, the icon becomes a minus sign, colored in green.
The number in parentheses adjacent to the name of the facility indicates how many documents are available for the time period selected. In the example above, documents from the past one day are included in the panel.
Documents which have not yet been opened are in bold-face type, indicating that they are new. Documents which have previously been opened are in non-bold typeface. The time and date on which the file arrived is listed.
The documents panel also indicates the number of pages in attached PDF file documents, and the total size of the documents.
The options bar allows users to quickly find a folder by filtering the list or by allowing users to hide empty folders.
Converting incoming documents into case files (drag and drop)
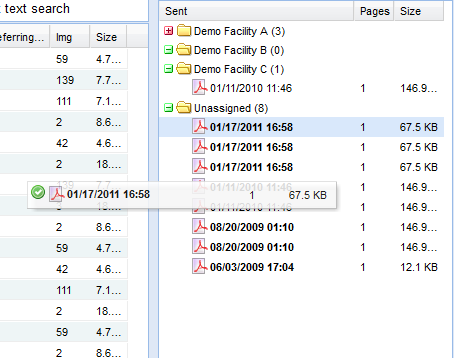
It is possible to drag a document out of the documents panel, and drop it onto a study, attaching a copy of the document to the study as either a case file, (or as a DICOM attachment, if your OnePacs administrator has configured the system to do so). A copy of the document will remain in the documents panel folder. When confirming that you want to attach the document to a case you can rotate or exclude certain pages of the PDF using the bottom toolbar.
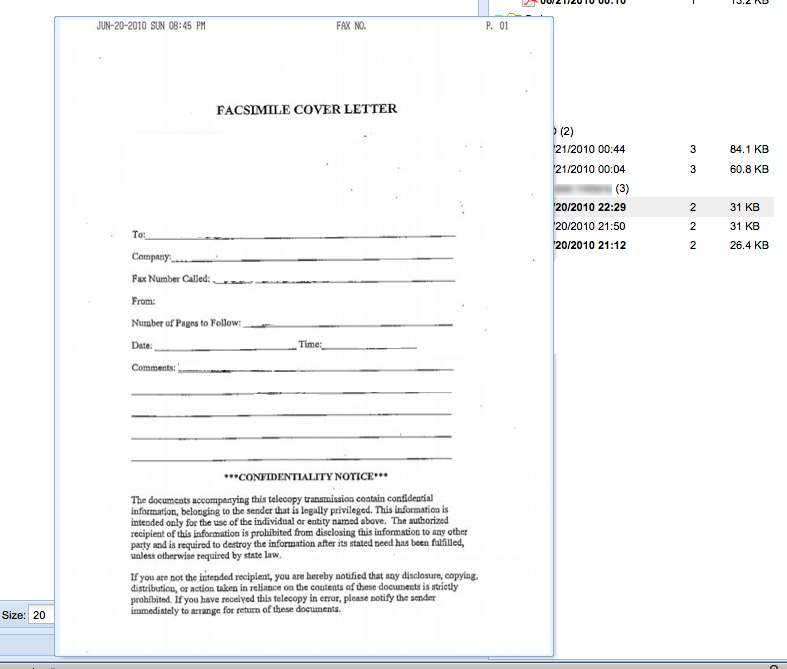
When the mouse pointer hovers over an image file or PDF document, a small JPEG preview of the first two pages of the document is rendered and immediately displayed on the screen. This makes it easy to find a document from amongst a large number of files. The hover-over preview appears as follows:
Management of the incoming documents feature for administrators is described here.
