...
The user is able to press the button directly, then the first image set shall be selected to compare with the image set in the viewport selected. The user also is able to select the image set wanted from the menu items.
For example, the viewport selected like below,
after selecting the image set from menu item, the viewport shall appear as below.
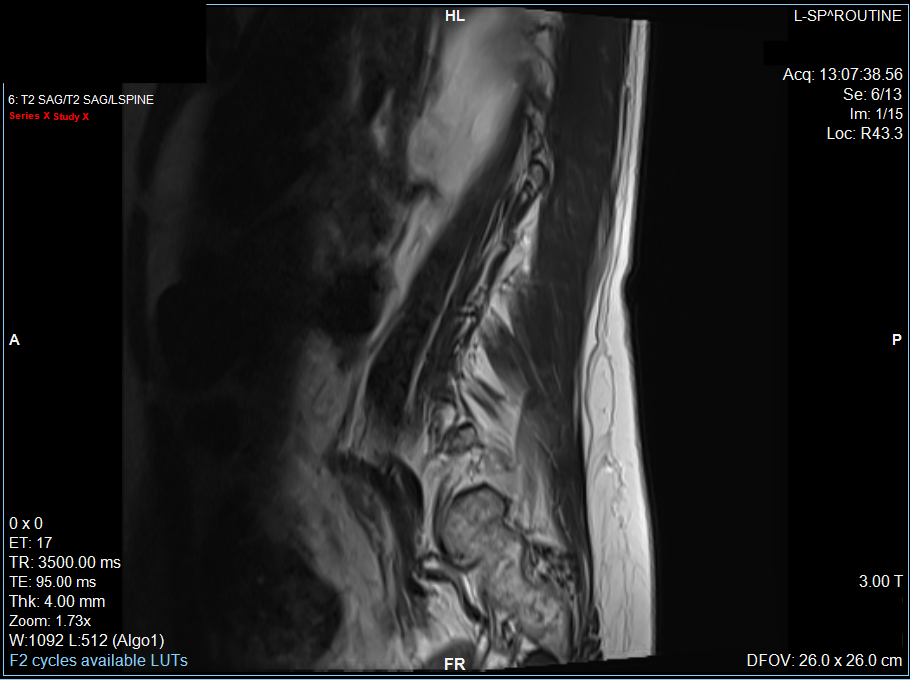
 a single series viewport such as the below:
may appear as follows when fused with a second series:
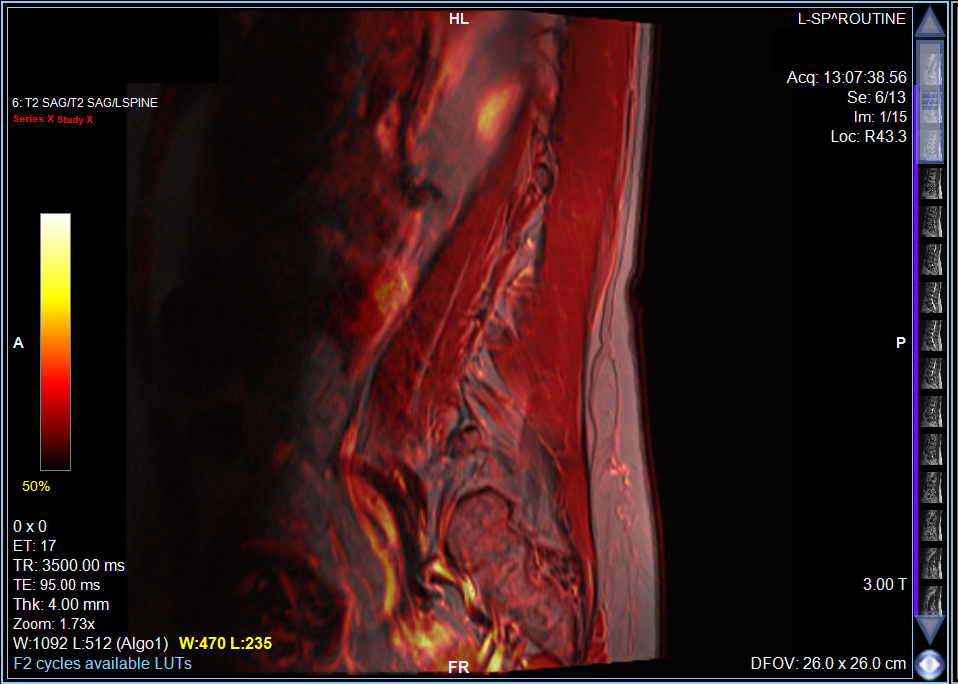
The hot palette was used as the color map for the foreground image set.
The yellow window/level indicator belongs to the foreground image set, and the opacity of the foreground is 50 % by default.
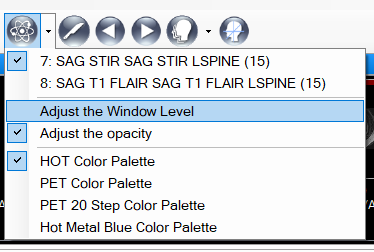
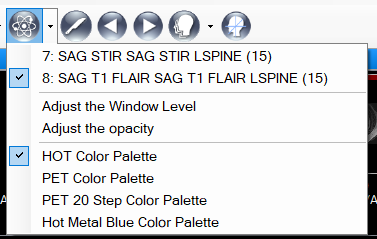
After selected the comparable image set, the two menu items below shall be enabled,
- Adjust the Window Level
...
Users may assign to the window/level tool either the function of windowing and levelling the
...
image
...


2. Adjust the opacity
after user presses this menu item, when user play Window/Level using mouse, the opacity of the foreground image set shall be changed.


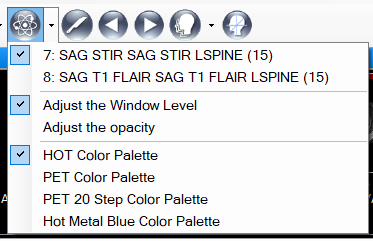
The uuser is able to turn off them in order to back to original status.

and when user switch to other viewport, those selections on the menu are based on the selected viewport.
The samples below are available to try the tool, they are CT/PT studies.
 , or adjusting the opacity of the overlay, as follows: