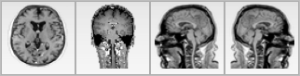
The volume rendering viewer allows you to navigate a dataset by displaying a volumic reconstruction while allowing the usage of other standard tools like zooming, panning and quantification.
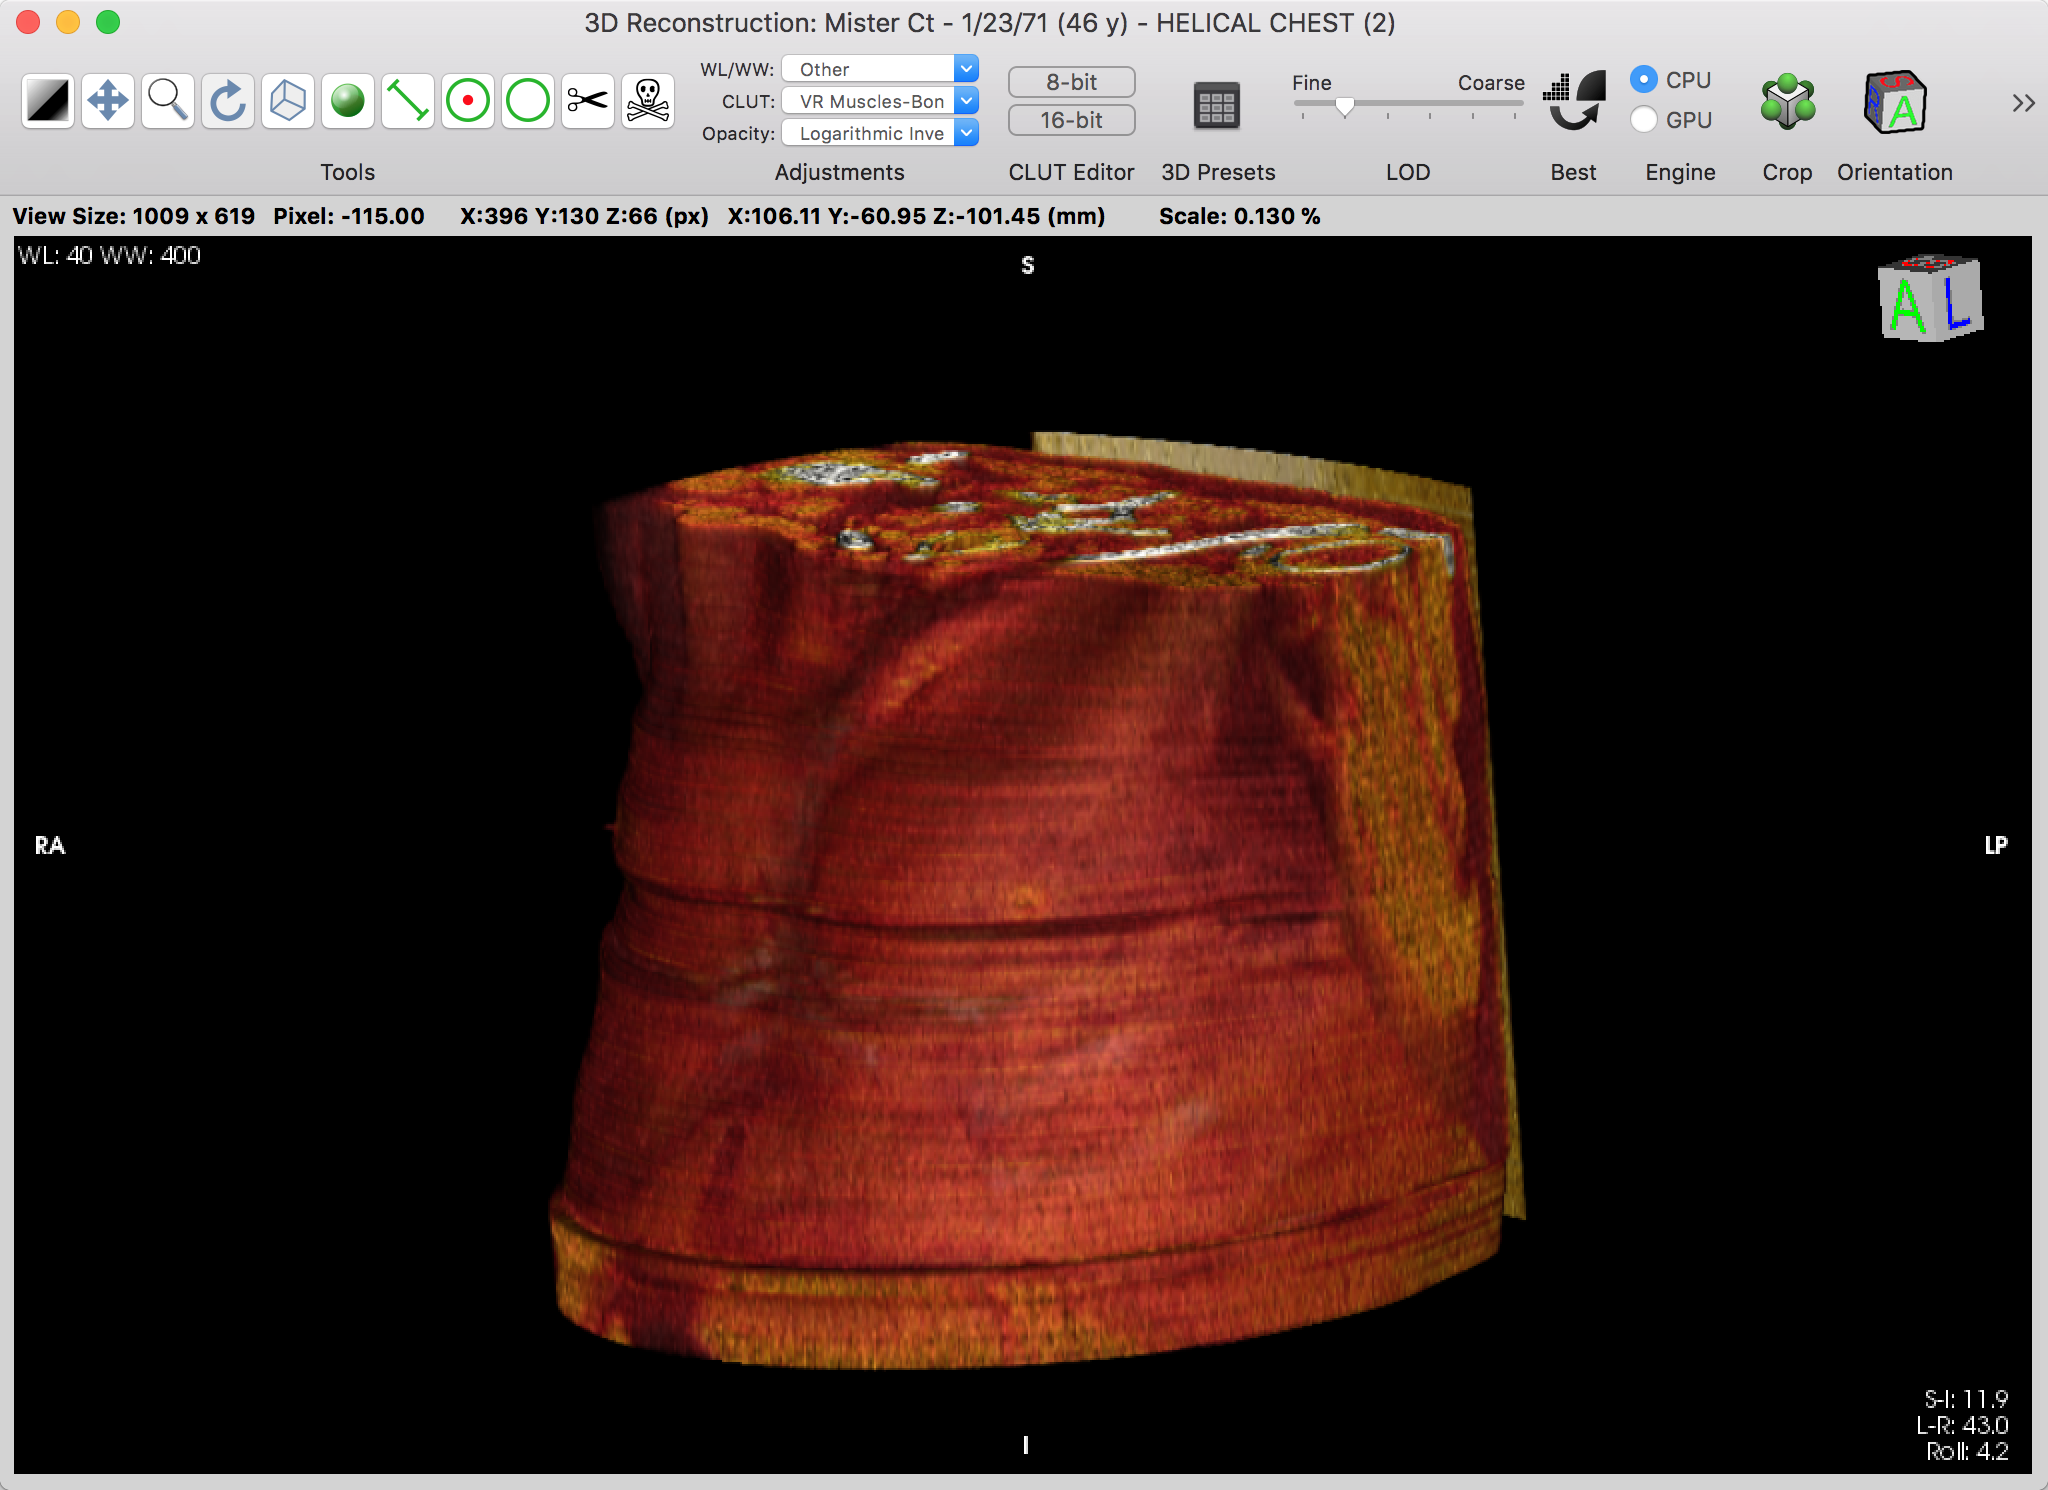
Graphical User Interface
With some practice, you should be able to navigate the 3D volume by using the available tools: revolve and rotate are the most useful tools to obtain the desired orientation.
The Toolbar
The viewer toolbar provides access to tools and functions that interact with the displayed dataset or with the viewer interface.
This toolbar can be customized just like the database window toolbar, but with other available items, which are reviewed in this section.
 Tools
Tools
You can use this item to choose the mouse interaction effect for the left mouse button. By clicking on one of these buttons, you select the corresponding tool.
The following tools are available: WL/WW, Pan, Zoom, Rotate, Revolve, Tilt, Length, Point, Oval, Scissor and Bone Removal.
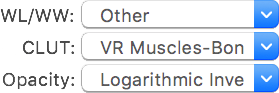 Adjustments
Through this item you define how to display the render data. You may adjust the used WL/WW, CLUT and opacity table: just like in the 2D viewer, the presented pop-up buttons list the available presets.
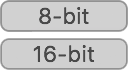 CLUT Editor
This button allows you to edit and apply an 8-bit or a 16-bit color look-up table to the rendered data.
 3D Presets
This button gives you access to a list of CLUT presets.
 LOD
LOD
This item allows you to specify the level of detail used to render the volume. This may come useful if the viewer is too slow on your workstation: by using a more coarse setting, it will take less time to render by reducing the number of raytracing rays.
 Best
Best
This button re-renders the current image using a set of parameters that maximizes the quality.
 Engine
This button lets you choose what rendering pipeline is used: wither the main processing unit or the dedicated graphics processing unit. Results may vary slightly, but using the GPU should allow for much faster renders.
 Crop
Crop
This button will toggle the visibility of the volume crop box. While in cropping mode, you can rotate and reshape the box: on every facet of the box there are handles that allow you to reshape the box.
Only the parts of the volume that are inside the box are rendered.
 Orientation
This button toggles the visibility of the orientation text annotations and cube.
 Shading
You may use this item to access the shading options used to render the volume.
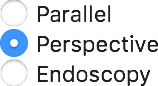 Perspective
This item allows you to choose the projection mode used to render the volume. The parallel option uses an axonometric projection. Perspective and Endoscopy use perspective projections with different focal lengths, endoscopy using a wider angle.
 Convolution
This pop-up menu button displays a menu that lists the available convolution filters. By choosing one, the corresponding filter is applied to to the volume data.
 Clipping
This item allows you to toggle clipping, and define the clipping thickness. Clipping is a common technique in 3D rendering, where only objects within the defined range are rendered.
 Export
This button allows you to store the current reconstruction as a new DICOM series. A dedicated interface is displayed so you can set several options for the dataset creation: a series name, the image size, the format, what range to export and more.
 Movie
Movie
This button allows you to create a movie file with the current reconstruction. A dedicated interface is displayed so you can set several options for the sequence: the image size, quality and what range to export.
 Photos
This button allows you to capture the current render and add it to the Photos app, in a dedicated OnePacs Workstation album.
 Email
Email
This button allows you to capture the current render and transfer it to the Mail app, attached to a new email message.
 Reorientation
These button allow you to reorient the camera to the represented standard orientations: axial, coronal, left sagittal and right sagittal.
 Reset
Reset
This button resets the display adjustments to the their initial state.
Revert
This button reloads the dataset from storage, undoing all changes that were applied to it.
 Fly-Through
This button displays the Fly-Through panel, allowing you to create a camera path that you can use to create an animated series.
In this panel you can add, edit and delete any number of key positions, and reorder them. You can also save the key positions list to disk, as an XML file, and load them back. You also have many additional options to interpolate the defined key positions into the final path.
 Mode
Mode
You can switch the rendering mode between volume rendering and maximum intensity projection.
 Fusion
This item allows you to adjust the way a fused dataset is displayed on top of the base dataset.
 4D Player
This item allows you to browse the displayed dataset in the fourth dimension, usually time. It also allows you to toggle the animation in this dimension, and its frame rate.
 Stereo
This button toggles the stereo rendering mode. When active, you can use anaglyph 3D goggles to look at the rendered images.
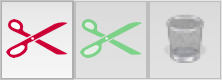 Scissor State
These buttons allow you to record a scissor tool state, to apply it and to delete it from memory.
 ROI Manager
This button displays a list of all ROIs in the displayed image: their name, area and volume, if applicable. It also allows you to assign the ROI a color or a texture.
 Background
This button lets you choose a background color for the viewer.
Space and Flexible Space
The system-defined space and flexible space items allow you to separate the toolbar items in groups.