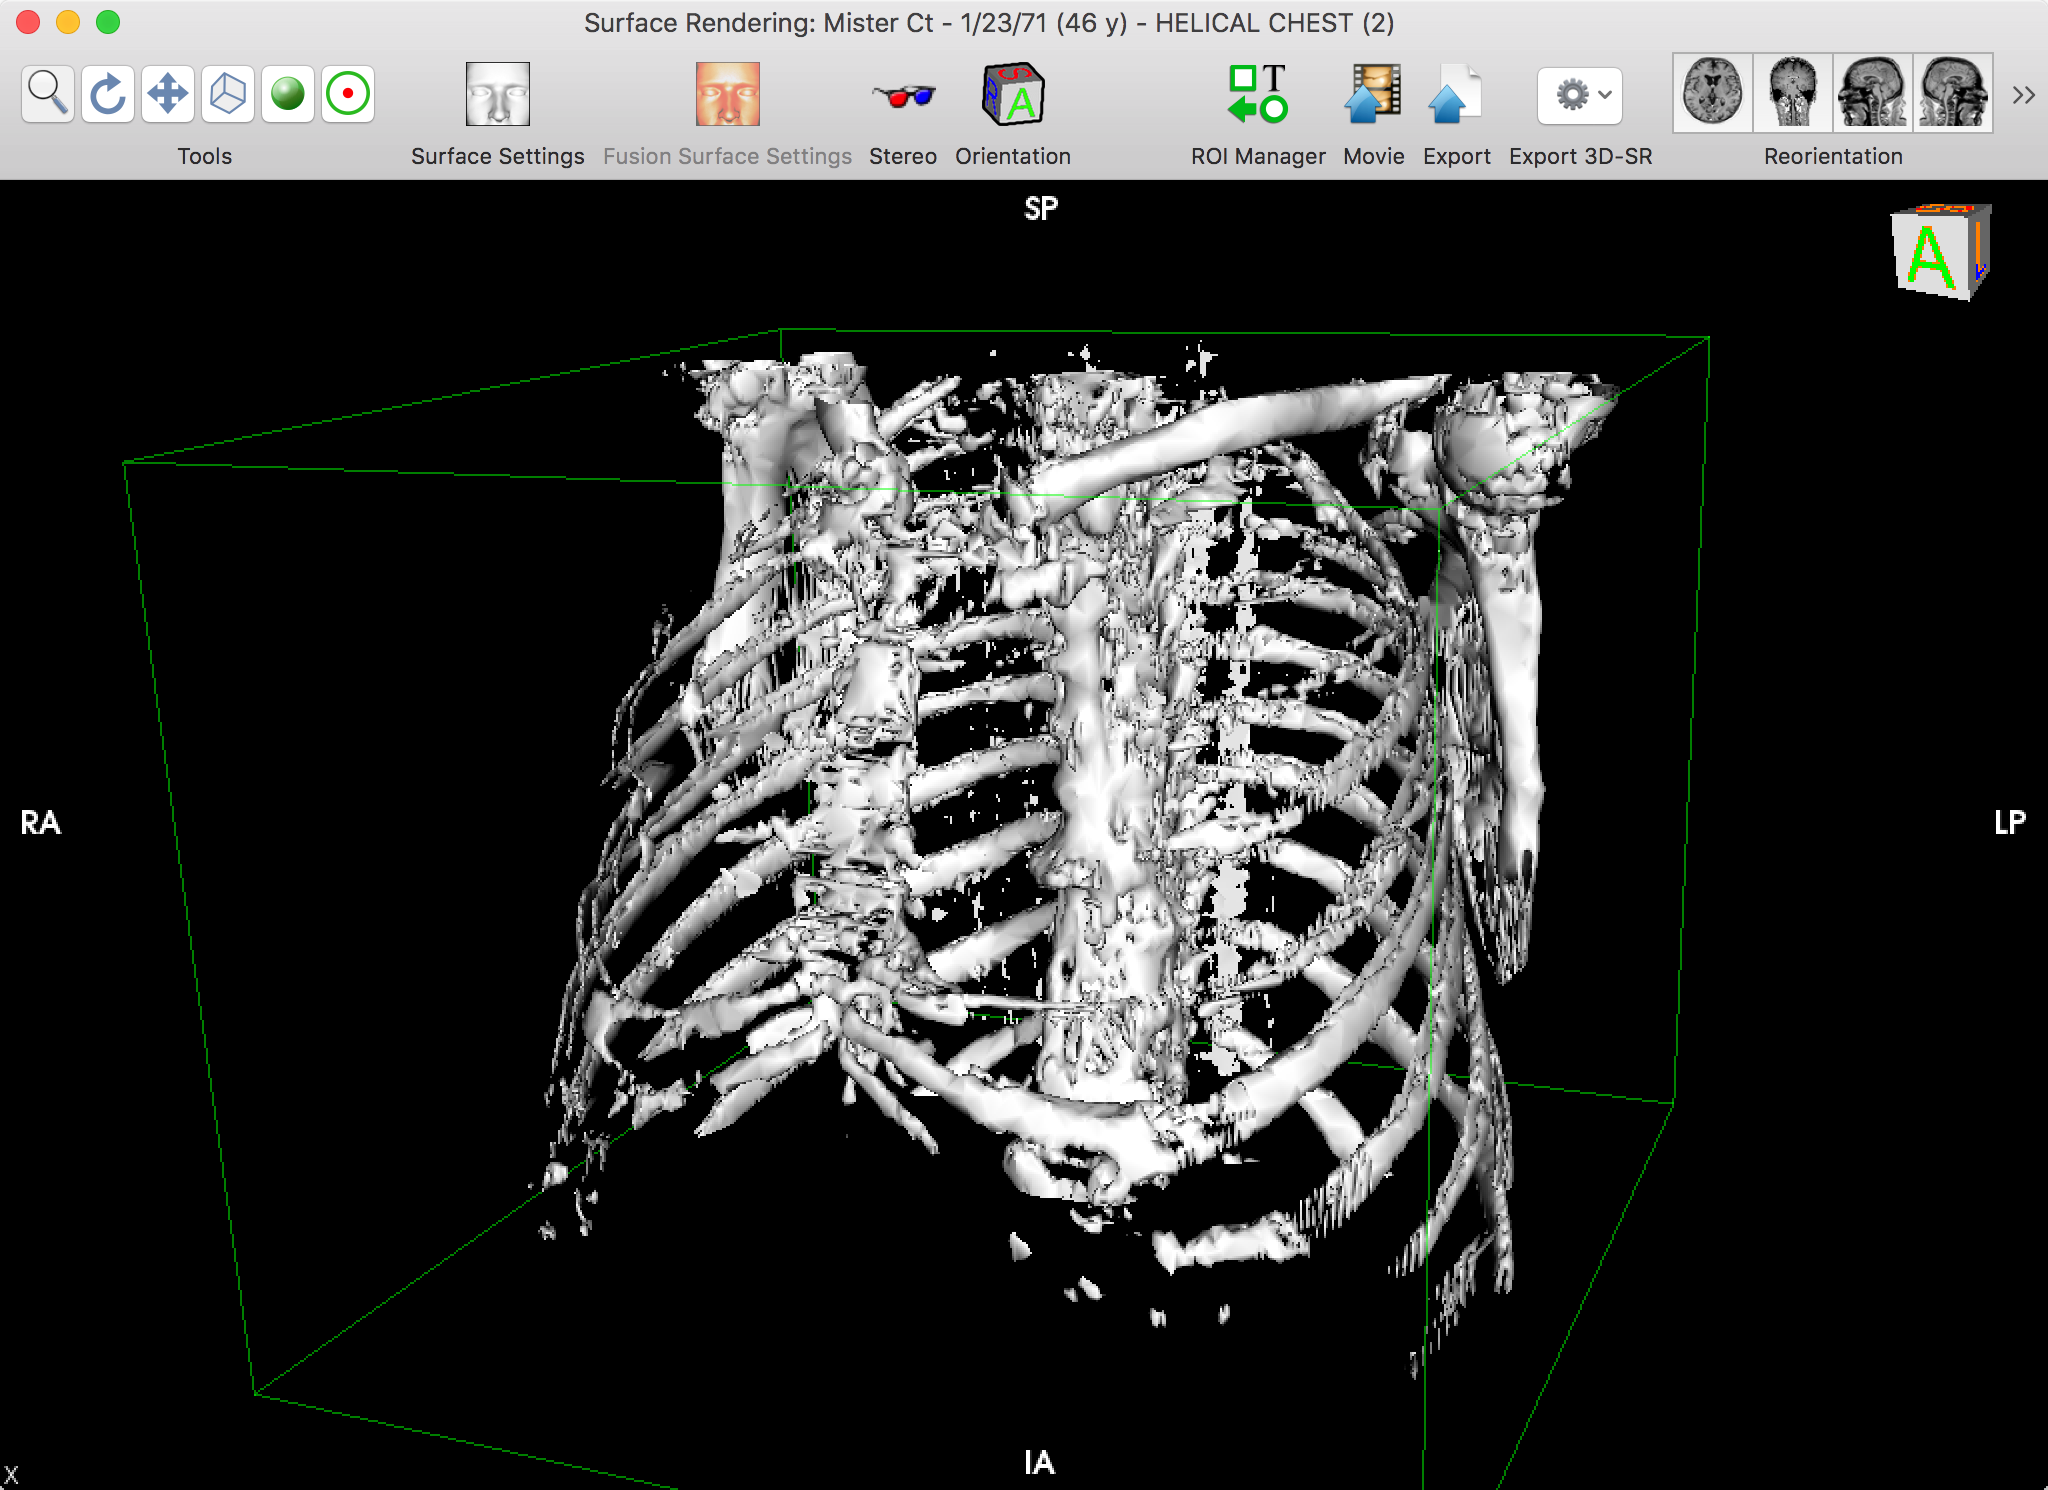
The surface rendering viewer allows you to navigate a dataset by displaying a surface reconstruction while allowing the usage of other standard tools like zooming, panning and quantification. This visualization method involves a conversion of your dataset into surfaces that are then rendered by the GPU.
The dataset conversion algorithm can be adjusted to extract specific parts of the anatomy, based on thresholds, resolution and surface smoothening.
Graphical User Interface
With some practice, you should be able to navigate the 3D volume by using the available tools: revolve and rotate are the most useful tools to obtain the desired orientation.
The Toolbar
The viewer toolbar provides access to tools and functions that interact with the displayed dataset or with the viewer interface.
This toolbar can be customized just like the database window toolbar, but with other available items, which are reviewed in this section.
Tools
You can use this item to choose the mouse interaction effect for the left mouse button. By clicking on one of these buttons, you select the corresponding tool.
The following tools are available: Zoom, Rotate, Pan, Revolve, Tilt and Point.
Surface Settings
This item lets you redefine the dataset conversion parameters and recompute the displayed surface.
Fusion Surface Settings
This item lets you redefine the fused dataset conversion parameters and recompute the displayed fusion surface.
Stereo
This button toggles the stereo rendering mode. When active, you can use anaglyph 3D goggles to look at the rendered images.
Reorientation
These button allow you to reorient the camera to the represented standard orientations: axial, coronal, left sagittal and right sagittal.
Show/Hide 3D Points
This button toggles the visibility of point ROIs.
Perspective
This item allows you to choose the projection mode used to render the volume. The parallel option uses an axonometric projection. Perspective and Endoscopy use perspective projections with different focal lengths, endoscopy using a wider angle.
ROI Manager
This button displays a list of all ROIs in the displayed image.
Export
This button allows you to store the current reconstruction as a new DICOM series. A dedicated interface is displayed so you can set several options for the dataset creation.
Movie
This button allows you to create a movie file with the current reconstruction. A dedicated interface is displayed so you can set several options for the sequence creation.
Photos
This button allows you to capture the current render and add it to the Photos app, in a dedicated OnePacs Workstation album.
Export 3D-SR
This button allows you to export the vectorial 3D data using standard file formats: Renderman, VRML, Inventor, Wavefront or STL.
Orientation
This button toggles the visibility of the orientation text annotations and cube.
Fly-Through
This button displays the Fly-Through panel, allowing you to create a camera path that you can use to create an animated series.
In this panel you can add, edit and delete any number of key positions, and reorder them. You can also save the key positions list to disk, as an XML file, and load them back. You also have many additional options to interpolate the defined key positions into the final path.
Color
This button lets you choose a background color for the viewer.
Reset
This button resets the display adjustments to the their initial state.
Space and Flexible Space
The system-defined space and flexible space items allow you to separate the toolbar items in groups.


