Using Standard Report Texts
A set of “standard report texts”, or frequently used standard report templates or report elements, may be defined in the OnePacs system for use in reporting. These texts are saved by an authorized user and may be shared to other users in the system. Shared standard report texts will be common to and accessible by all users with the ability to write reports. Users may opt-out of the shared standard texts in User Preferences.
OnePacs does not recommend setting the font size in standard texts. It is typically better to set the font size of the report in the report template instead.
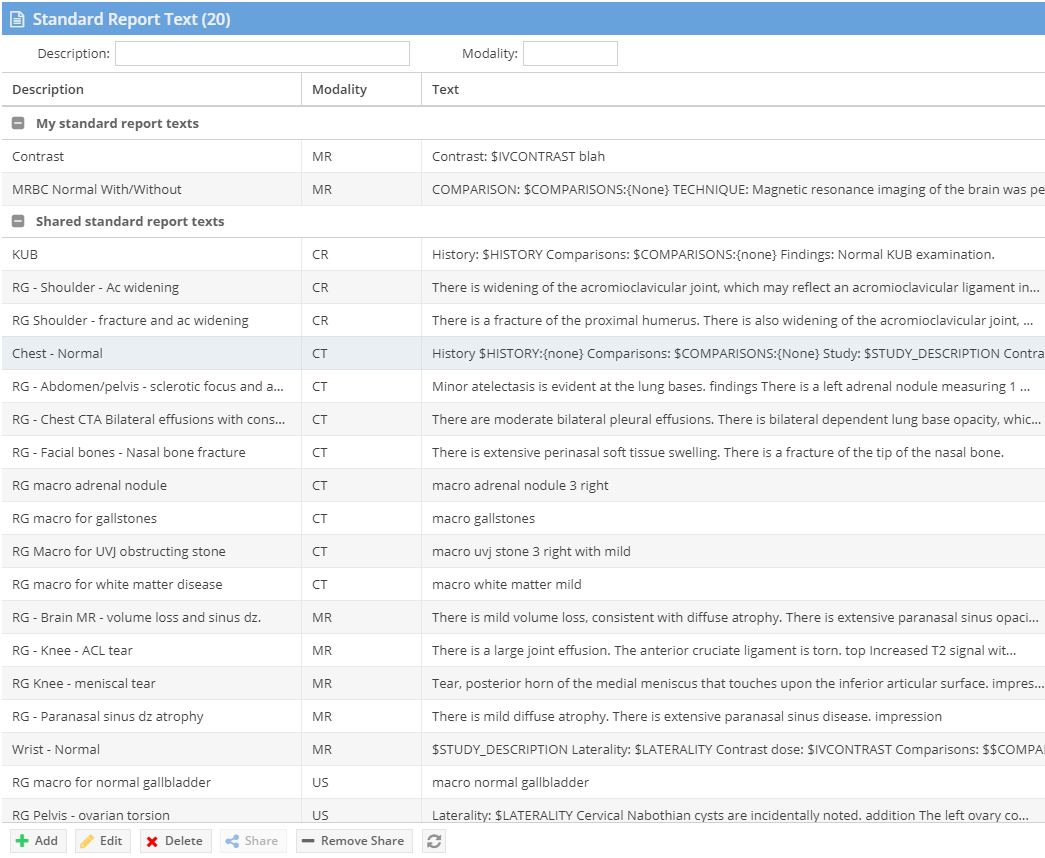
Managing Standard Report Texts
Users with the “Manage standard report texts” privilege may add, delete, or modify standard report texts.
Enter in a name (description), imaging modality type, and text for the standard report. Add an alias for the standard if needed.
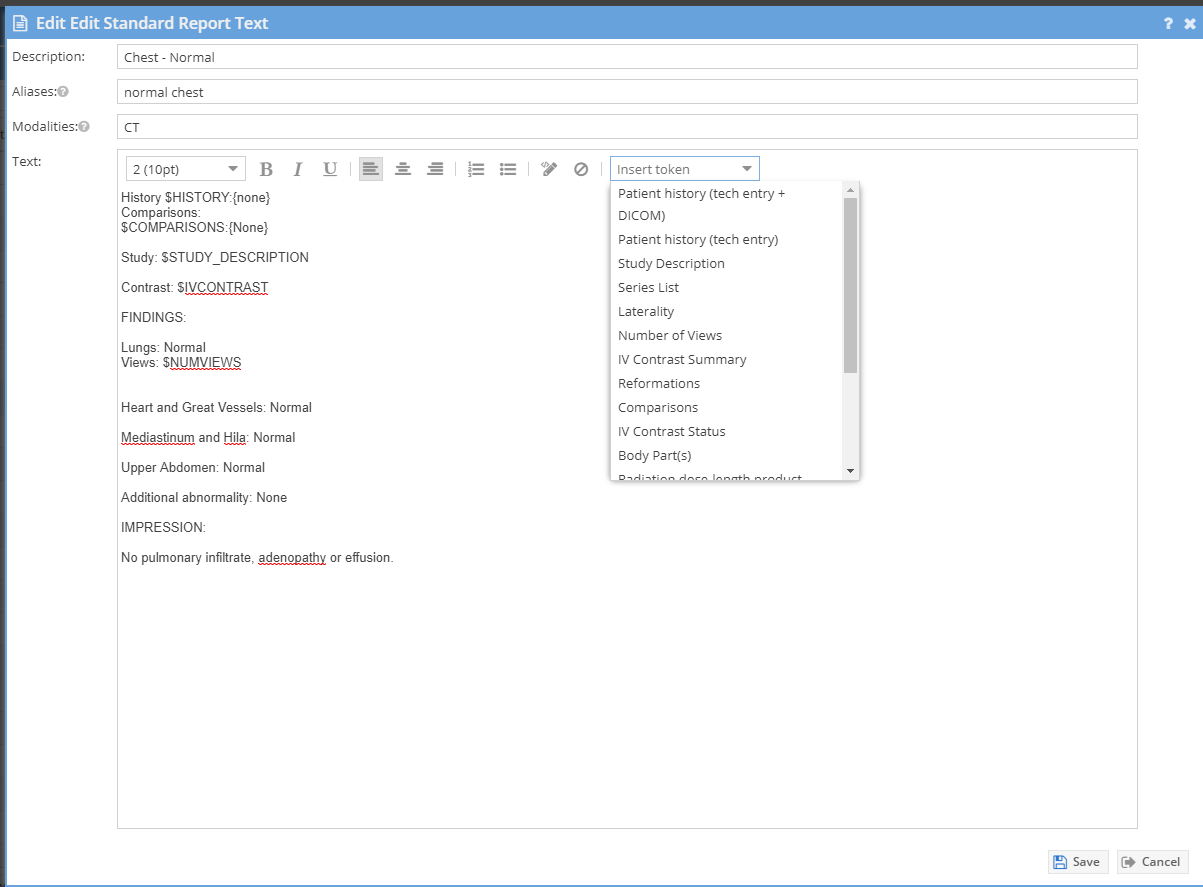
To edit an existing standard report text you may either double click the grid row, or click the row and select the edit button. Change the necessary fields and click “Save” to complete.
To delete a standard report text you may select the grid row and press the “Delete” button. Confirm delete.
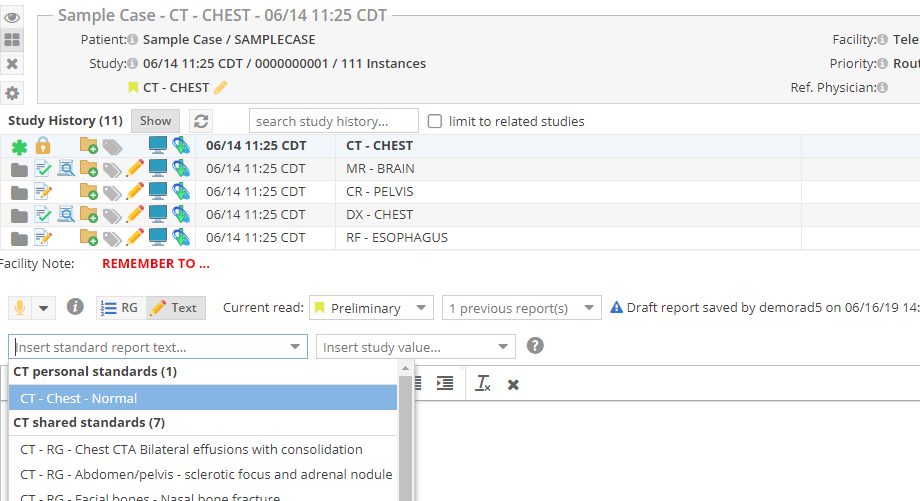
Using Standard Report Texts
- Click the mouse button to place the text entry caret at the location within the report edit field where you wish to enter the standard report text.
- Clicking on this selection box will bring up a drop-down menu listing available standard report texts. The most relevant standards by modality and matched to the study will be at the top of the list.
Using Standard Report Texts as Voice Macros
In the cloud report editor, if voice commands are active, users can say "macro <name>" or "insert macro <name>", with <name> being the name of, or an alias for, a standard report text, and the text will be inserted into the report editor.
Migrating Voice Macros from OnePacs VR Classic/Desktop edition
Voice Macros may be migrated from OnePacs VR Classic/Desktop edition as follows:
- Select “Define voice macros” from the OPVR system tray menu:
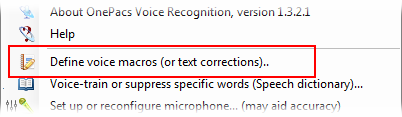
- This will bring up a Voice Macro management window, from which the current set of macros can be exported to a comma separated values (.csv) file:
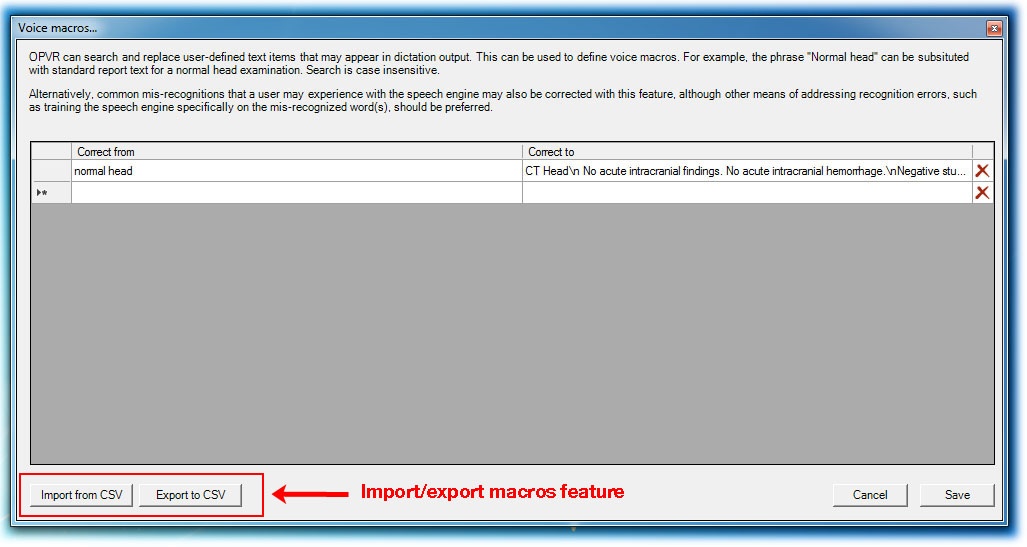
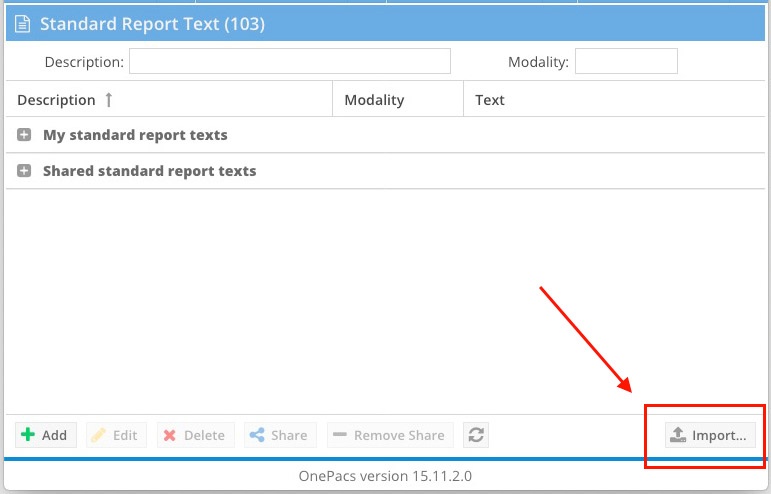
After exporting the voice macros to a comma separated values (.csv) file, use the "import" function in the Standard Report Text manager in the OnePacs web application to import the macros:
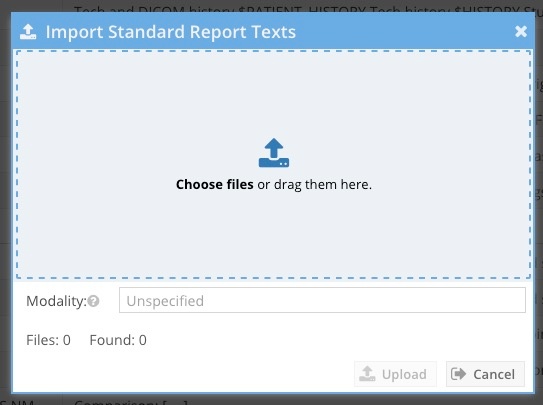
The following screen will be called up, which can be used to import the macro file. User may choose to restrict macro applicability to specified modalities, if desired.
Associating Standard Report Texts with Study Types
Administrators can configure a study type to optionally be associated with a default standard reporting text. The standard report text will be entered into the reporting window if the study type is selected either during the confirmation or when the radiologist completes the report.